Extracting DNA from Large Volume Whole Blood Samples: A Brief Overview
August 29, 2025
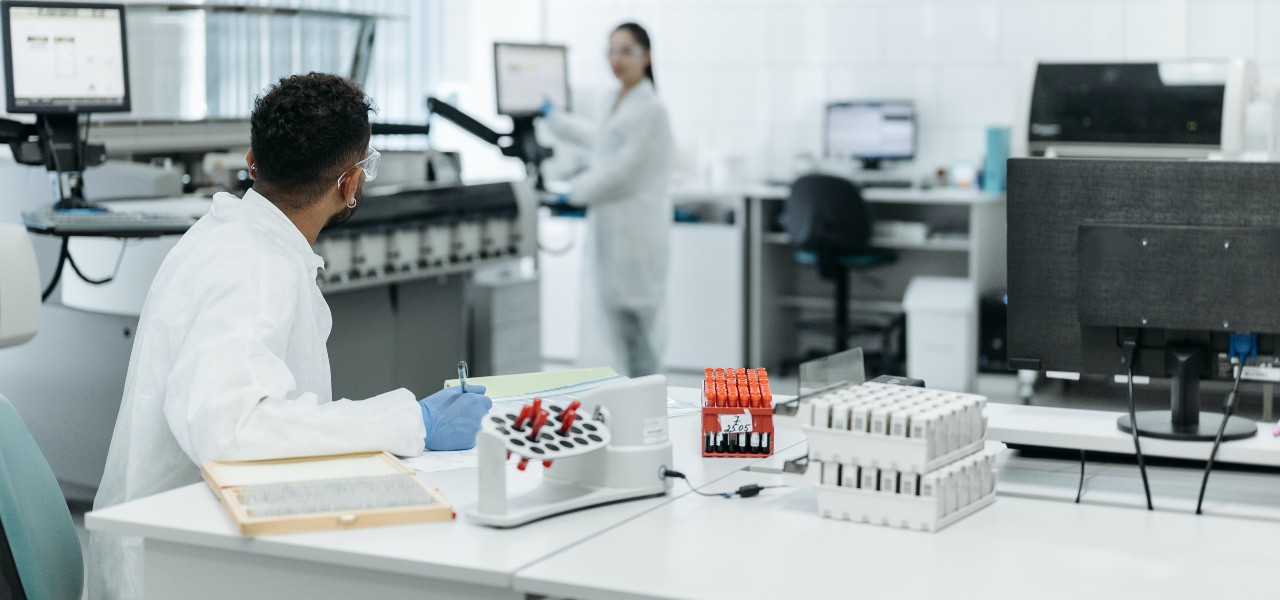
Whole blood is one of the most common, minimally invasive sources for extracting high-quality DNA. In this article, we explore the merits of blood as a source for DNA, the methods for extracting DNA from large volume blood, and tips for getting the best results.
Why Choose Blood over Saliva for DNA Extraction
Whether you choose blood or saliva as a DNA source depends on the requirements of your study. Many researchers choose blood as their DNA source because it offers a higher yield of DNA that is in many cases purer than saliva DNA.
Blood is considered by many to be the “gold standard” sample for DNA extraction. It tends to be more consistent because it’s not collected at home like saliva samples might be.
Blood samples for DNA extraction also tend to be retention samples that have been maintained after other lab tests have been performed.
This doesn’t mean saliva isn’t a good source for DNA. Depending on your needs, saliva may be the best source. It can be stored for a long time, sometimes up to five years at room temperature in certain devices. It’s easier to collect than blood and quick to process. Saliva is also great for studying populations where drawing blood is challenging or impossible. The downsides are lower-quality and lower-yield DNA.
Methods for Extracting DNA from Blood
There are two main methods for extracting DNA from large volume blood samples (samples that are greater than 1ml):
- Precipitation Chemistry: whole blood using precipitation chemistry works by precipitating the DNA out of a lysate via high salt concentration and addition of alcohol (either ethanol or isopropanol). The precipitation chemistry method can further be subdivided into either one- or two-step lysis approaches.
- Magnetic Separation: Magnetic bead capture is the newest method of extracting DNA. Extracting DNA from whole blood using this method works by capturing DNA on magnetic beads coated with a matrix of silica for binding nucleic acids.
For samples with a volume of less than 1ml, you’re typically looking at getting DNA from a column-based method.
Let’s dig a little deeper into each of the large-volume blood methods.
Extracting Blood DNA Using Precipitation Chemistry
The first thing to know about the precipitation chemistry method is there are two ways to do it – the two-step lysis method and the one-step lysis approach. The two-step approach has fallen out of favor, so for the purposes of this article, we will cover the one-step approach.
One-Step Lysis Approach
This method breaks down the red and white blood cells in one step using a detergent mix capable of lysing both cell types at once. This lysis step releases the nuclei and mitochondria from the white blood cells, which are collected via centrifugation, leaving the RNA in the supernatant liquid (Figure 1b).
The next step is to remove contaminating proteins. Here, the white cell nuclei and mitochondria are treated with a denaturation buffer containing chaotropic salt and a protease. This simultaneously denatures and digests the proteins, including the RNA, in the nuclei and mitochondria, leaving digested proteins and the pure, long-strand, high molecular weight genomic DNA in solution. With this method you also avoid having to use expensive RNase treatments to achieve a pure gDNA isolation.
Lastly, DNA is recovered by alcohol precipitation and rehydrated using a Tris or Tris-EDTA buffer. The isolated DNA can remain stable for 20-25 years if maintained at -80°C, the temperature where metabolic activity stops.
Extracting DNA Using Magnetic Separation
Magnetic bead capture is the newest method of extracting DNA. Extracting DNA from whole blood using this method works by capturing DNA on magnetic beads coated with a matrix of silica for binding nucleic acids.
As with the precipitation chemistry methods, the whole blood cells first must be lysed using SDS or similar detergents. The lysed cells are then incubated with magnetic beads, allowing DNA to bind.
Several rounds of washing in the presence of a magnetic field then separates the DNA captured on magnetic beads from other unbound cellular contaminants. Then, a low-salt buffer elutes the DNA from the beads.
The magnetic bead method is sometimes thought to be faster; however, that speed comes with a compromise as yields are typically 20% less. Purity can also suffer if the beads carry over to contaminate your isolated DNA. Bead extraction is messy, plus the beads must be in a solution that must be frequently vortexed. Bead carryover can cause expensive downstream applications to fail. Lastly, the magnetic bead method is more expensive to run because it requires magnetic capture stands and plates as well as the beads themselves.
How to Ensure the Best Results
After selecting a method, special care must be taken to ensure you get the best yields from your samples. Here are a few tips.
Tip #1: Consider the Cell Count of the Sample
Starting with too few cells will result in a low DNA yield. But if the sample has too many cells, you risk an incomplete lysis step resulting in carryover proteins and other contaminants spoiling your isolated DNA. Check the optimal cell count for your chosen method, and if possible look to measure the cell count.
Tip #2: Use the Right Anticoagulant
When storing your blood samples, make sure you’re using the right anticoagulant. Note that blood sample storage tubes will be coated with an anticoagulant, so there is no need to add more. In fact, it could degrade the DNA sample quality.
Studies show, ethylenediaminetetraacetic acid or EDTA is the best anticoagulant for maintaining DNA purity, followed by sodium citrate.
Avoid heparin if possible. While there are still viable ways to get good DNA from blood in heparin tubes, it’s difficult to remove during the purification process. That extra difficulty could mean greater cost on your extraction project.
Of course, sometimes, you will be unable to determine the tube your sample is collected in. If this is the case, consult with an expert extraction services company for guidance to determine an ideal workflow to isolate your sample.
Tip #3: Store & Handle Your Samples Properly
Limit light exposure and temperatures above 4°C. UV light harms DNA by causing formation of thymine dimers in DNA. As temperatures increase, so do chemical reactions that damage DNA like oxidation and acid hydrolysis.
The faster that you can refrigerate or freeze your sample, the better. Ideally, samples should not exceed a week at room temperature. Some refrigeration is better than none, so you should either process your samples or freeze them at -80°C.
Lastly, handle your samples gently to avoid early hemolysis. If your samples need to be mixed, do so by gently inverting the tube. Or use an automated tube rotator to ensure your blood samples are well mixed without being overmixed.
Conclusion: An Extraction Expert Can Help Narrow Down Your Options
Optimizing your DNA yields from blood can be challenging. Following these steps and processes are a great way to start. If you still need help narrowing down the right process or automating you blood DNA extractions, get in touch with an extraction expert like AutoGen.